

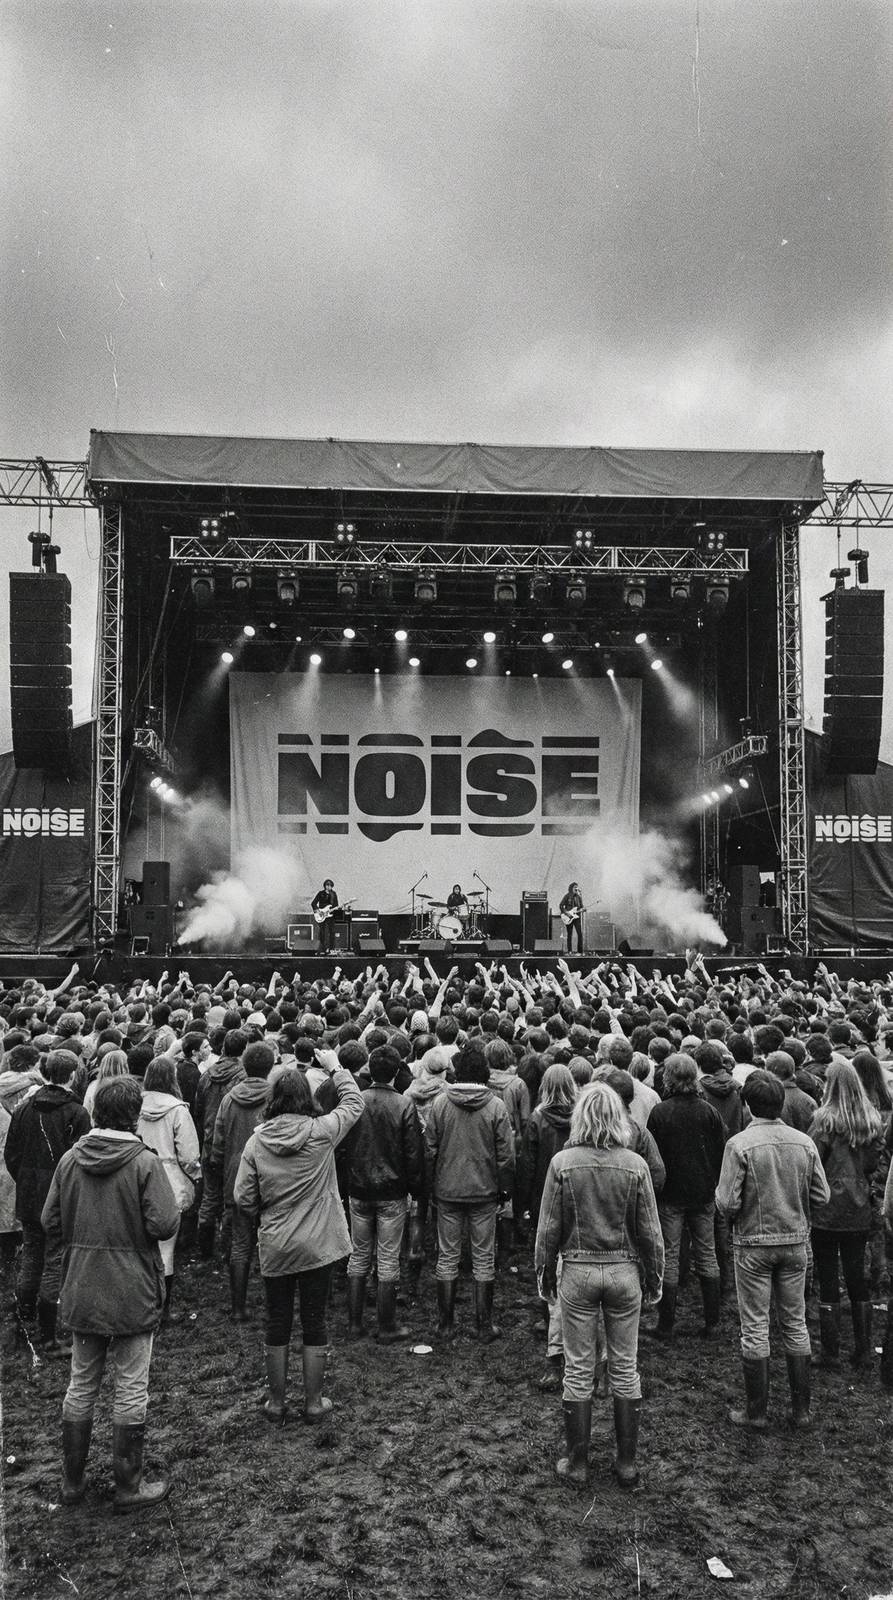


Your bedroom recordings don't have to sound like bedroom recordings. Here's the recording chain, technique, and room treatment that'll transform your vocals.
TL;DR
Professional-sounding vocals come from three things: a decent mic with proper technique, a treated recording space, and clean gain staging. You don't need expensive gear — you need to understand proximity effect, room reflections, and how to use a pop filter properly.
The Recording Chain: What Actually Matters
Your vocal recording chain has four links: the room, the microphone, the preamp (in your audio interface), and your recording settings. The order of importance for quality is: room, microphone technique, microphone, preamp. Most beginners obsess over gear when their room and technique are the actual bottlenecks.
For microphones, a large-diaphragm condenser is the standard for vocal recording. The Rode NT1 5th Gen (about £180) is the current sweet spot — low self-noise, versatile character, and it'll serve you well for years. The Audio-Technica AT2020 (about £90) is the budget option that thousands of successful recordings have been made with.
Your audio interface's preamp does the heavy lifting of amplifying the mic signal. Modern budget interfaces like the Focusrite Scarlett range have preamps that are genuinely clean and quiet. Unless you're specifically chasing a coloured, vintage tone, your Scarlett preamp is absolutely fine for professional vocal recording.
Room Treatment for Vocal Recording
The single biggest upgrade you can make to your vocal recordings costs almost nothing: treat the space around your microphone. Vocals are incredibly sensitive to room reflections — those subtle echoes off walls, ceilings, and floors that make home recordings sound 'boxy' and amateur.
The simplest solution is recording in a closet full of clothes. Seriously. Hanging clothes are excellent acoustic absorbers, and a walk-in closet with a mic in the middle will give you a surprisingly dead recording space. It's not glamorous, but it works.
If closet recording isn't practical, create a vocal booth effect around your mic using thick blankets or duvets hung on mic stands or a clothes rack. The goal is absorption behind and around the microphone, reducing the reflections that colour your recording. Purpose-built reflection filters (like the SE Electronics Reflexion Filter) work too, but heavy blankets achieve a similar result for less money.
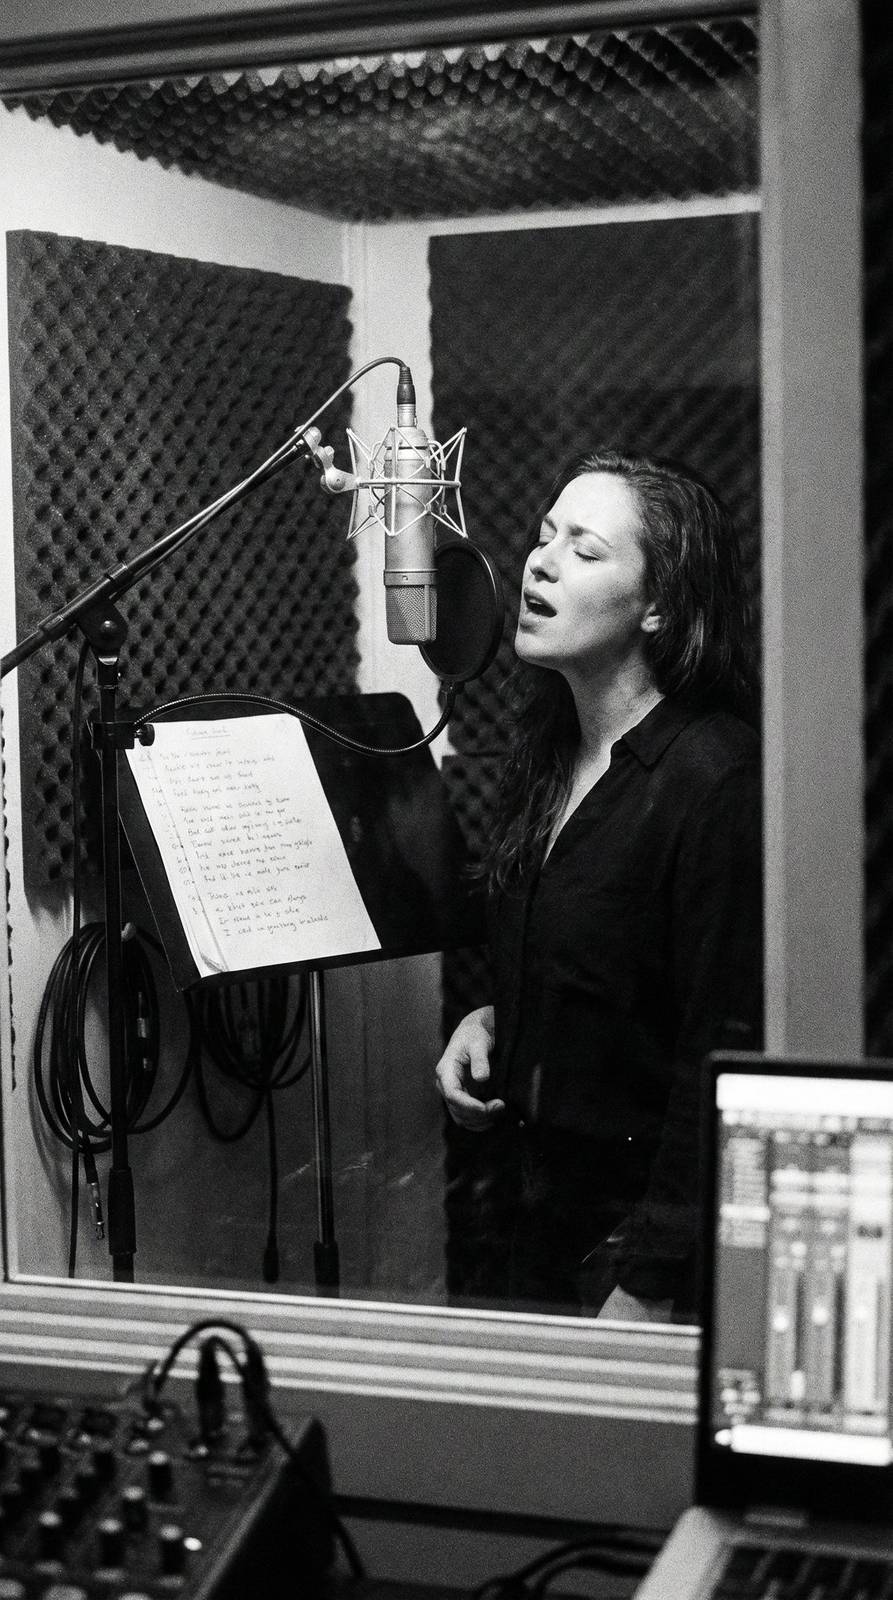
Microphone Technique That Makes or Breaks Your Take
Distance from the mic dramatically changes your vocal tone. At 15-20cm (about a fist's width), you get a balanced, natural sound. Move closer and you get the proximity effect — a bass boost that sounds intimate and warm, perfect for breathy pop vocals. Move further away and you get more room sound and a thinner, more distant quality.
Always use a pop filter. Those hard 'P' and 'B' sounds (plosives) create bursts of air that distort condenser microphones and are nearly impossible to fix in post-production. A basic mesh pop filter costs £5-10 and eliminates the problem entirely. Position it about 5cm from the mic.
Sing across the mic, not directly into it. Angling slightly off-axis (about 10-15 degrees to the side) reduces sibilance — those harsh 'S' and 'T' sounds — while maintaining clarity. This is a trick that professional vocal engineers use daily and it makes an immediate audible difference.
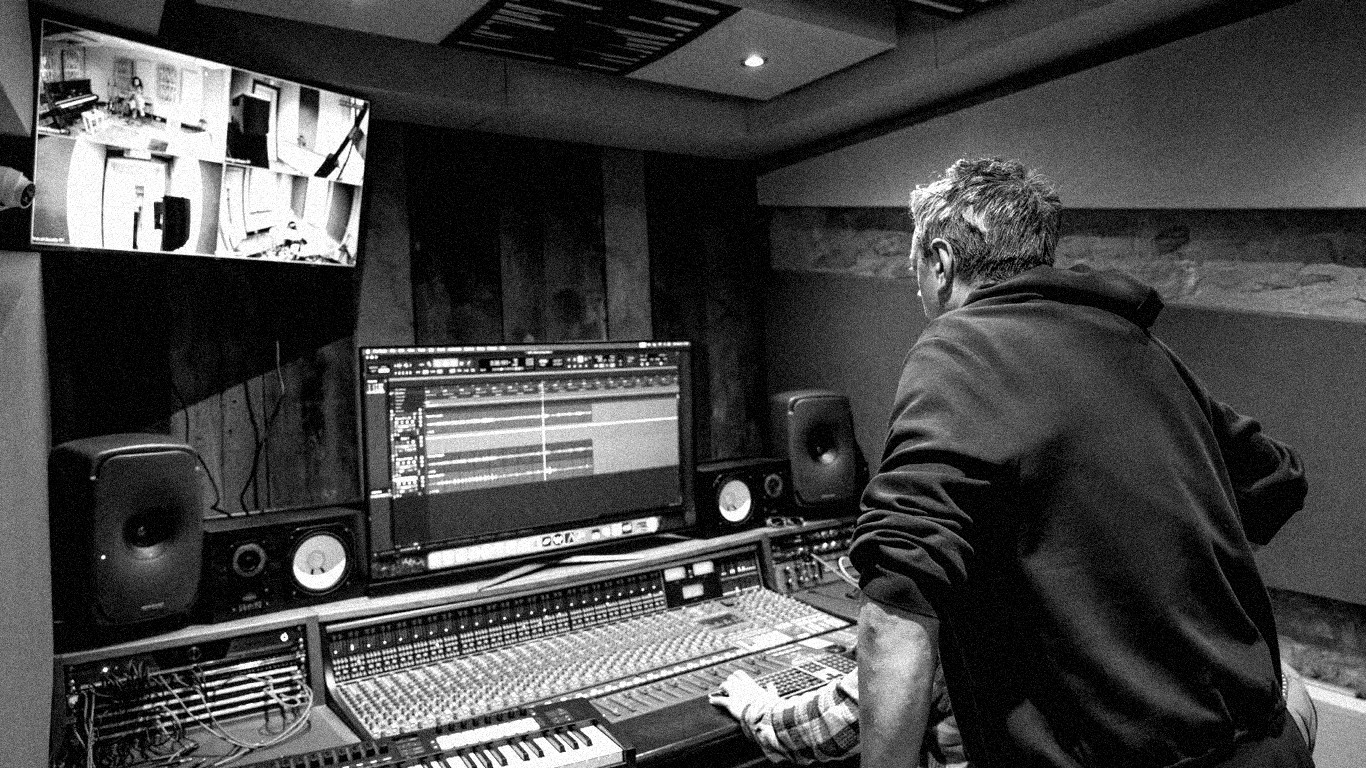
Recording Settings and Gain Staging
Record at 24-bit, 44.1kHz or 48kHz. The 24-bit part is crucial — it gives you far more dynamic range than 16-bit, meaning you can record at lower levels without losing quality. And you should record at lower levels. Aim for peaks hitting around -12dB to -6dB on your interface's meter. This gives you headroom and avoids digital clipping.
Turn off any processing on your interface's input — no EQ, no compression, no 'air' modes. Record the cleanest, most neutral signal possible and save all processing for mixing. You can always add EQ and compression later, but you can never remove them from a recorded signal.
Monitor through headphones while recording, never through speakers, to avoid feedback and bleed. Use closed-back headphones specifically — open-back headphones leak sound that your microphone will pick up. The Audio-Technica ATH-M50x or Beyerdynamic DT 770 Pro are industry standards for this reason.
The Quick-Fix Checklist Before Every Session
Before hitting record, run through this checklist: Phone on silent and away from your interface (phones cause electromagnetic interference). Computer fan noise minimised (close unnecessary apps, consider pointing the laptop away from the mic). No background noise — turn off fans, air conditioning, anything with a hum.
Do a test recording: record 10 seconds of silence to check your noise floor, then sing your loudest passage to check levels. If the silence has audible hiss, your gain is too high. If your loud passage clips, your gain is too high. Adjust until both are clean.
Hydrate before singing. Drink room-temperature water — cold water constricts your vocal cords. Warm up your voice for 5-10 minutes with gentle humming and scales. These seem like minor details but they genuinely affect the quality of your recorded performance, and no amount of post-production can add warmth to a cold, tense vocal take.