


Reference tracks are the secret weapon of professional mix engineers. Here's how to choose them, set them up, and A/B compare without fooling yourself.
TL;DR
Every professional mixer uses reference tracks — commercially released songs that represent the sonic target for your mix. Match loudness levels before comparing, focus on specific elements rather than the overall sound, and build a reference library organised by genre and quality.
Why Reference Tracks Are Non-Negotiable
After hours in a mixing session, your ears adapt. What sounds balanced at hour one sounds completely different at hour five. You lose perspective on bass levels, vocal brightness, stereo width, and overall tonality. Without an external reference point, you're mixing in a bubble that drifts further from reality the longer you work.
Reference tracks reset your ears instantly. Switching to a commercially released track that you know sounds good on every system forces your brain to recalibrate. You'll immediately notice if your mix has too much bass, not enough high end, or a narrow stereo image compared to the professional standard.
This isn't about copying another mix — it's about maintaining perspective. A painter steps back from the canvas to see the big picture. A reference track is your step back.
Choosing the Right References
Your reference tracks should be in the same genre and have a similar arrangement to what you're mixing. Comparing your indie folk track to a Metallica mix is meaningless. Find released tracks that represent what you want yours to sound like — similar instrumentation, similar energy, similar vibe.
Choose tracks that sound good everywhere, not just on studio monitors. The best references translate across car speakers, earbuds, phone speakers, and club systems. This usually means well-mastered major releases, but plenty of independent releases have excellent mixes too.
Build a library of 3-5 reference tracks per genre you work in. For each track, know it intimately: where the bass sits, how bright the vocals are, how wide the stereo field is, how dynamic the overall mix is. These become your sonic benchmarks.
The A/B Setup That Doesn't Fool You
The most critical rule of referencing: match loudness levels. A louder signal almost always sounds 'better' to our brains — more exciting, more detailed, more full. If your reference track is louder than your mix, you'll think your mix sounds worse even if it's actually fine. Use a loudness meter to match integrated LUFS levels before comparing.
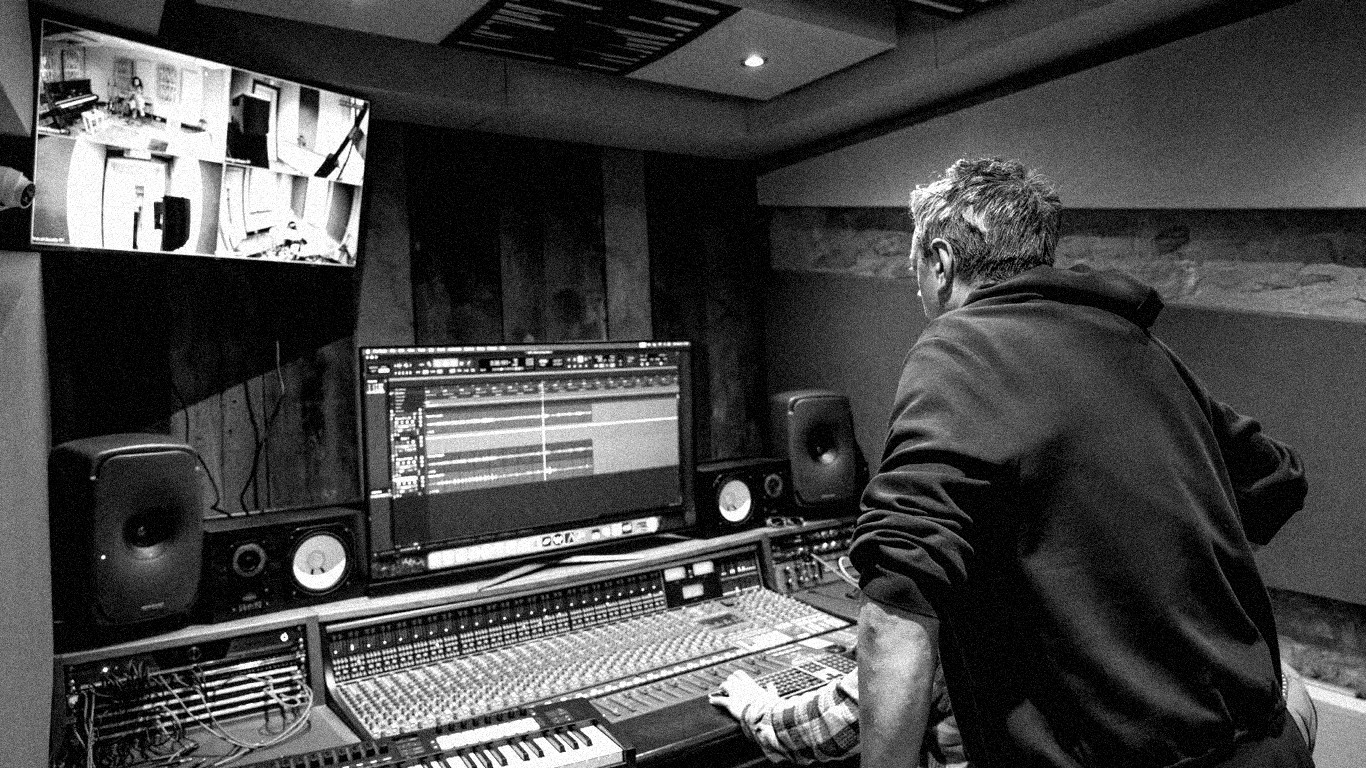
Import your reference track directly into your DAW session on a dedicated track, routed straight to your main output and bypassing your mix bus processing. This way, when you switch between your mix and the reference, you're hearing them through identical monitoring conditions.
Don't compare the whole mix against the whole reference. Instead, focus on specific elements: how does your kick compare? Your vocal level? Your bass weight? Your high-frequency energy? Targeted comparison is far more useful than general impressions, and it gives you specific, actionable things to adjust.
Tools That Make Referencing Easier
ADPTR MetricAB is the gold standard reference plugin — it lets you load reference tracks, level-match automatically, and switch between your mix and references instantly. It also provides visual comparison of frequency spectrum, loudness, stereo width, and dynamics. At about £80, it's a worthwhile investment for serious mixers.
For a free option, you can achieve most of the same functionality manually. Import your reference into your DAW, use a free loudness meter (Youlean) to match levels, and use a keyboard shortcut or button to solo the reference track. It takes more setup but the principle is identical.
Some engineers use spectrum analysers like Voxengo SPAN (free) to visually compare the frequency balance of their mix against the reference. While visual comparison shouldn't replace listening, it can highlight discrepancies your ears might miss — particularly in sub-bass frequencies that are hard to hear on small speakers.
Building the Reference Habit
Make referencing a ritual, not an afterthought. Check against your references at the start of every mixing session (to calibrate your ears to your room), every 30-45 minutes (to reset ear fatigue), and before you bounce your final mix (as a sanity check).
Keep a notes document for each reference track: what you admire about the mix, what specific qualities you're trying to match, and any measurements you've taken. Over time, this becomes an invaluable resource that accelerates your mixing decisions.
The goal isn't to make your mix sound identical to the reference — it's to ensure your mix lives in the same sonic neighbourhood. Professional records share certain characteristics: balanced frequency response, appropriate dynamic range, clear stereo imaging. References help you hit those targets while maintaining your own artistic identity.