
Recording Vocals That Sound Professional
Capture clean, powerful vocal takes in any room. Practical techniques that work without a treated studio.
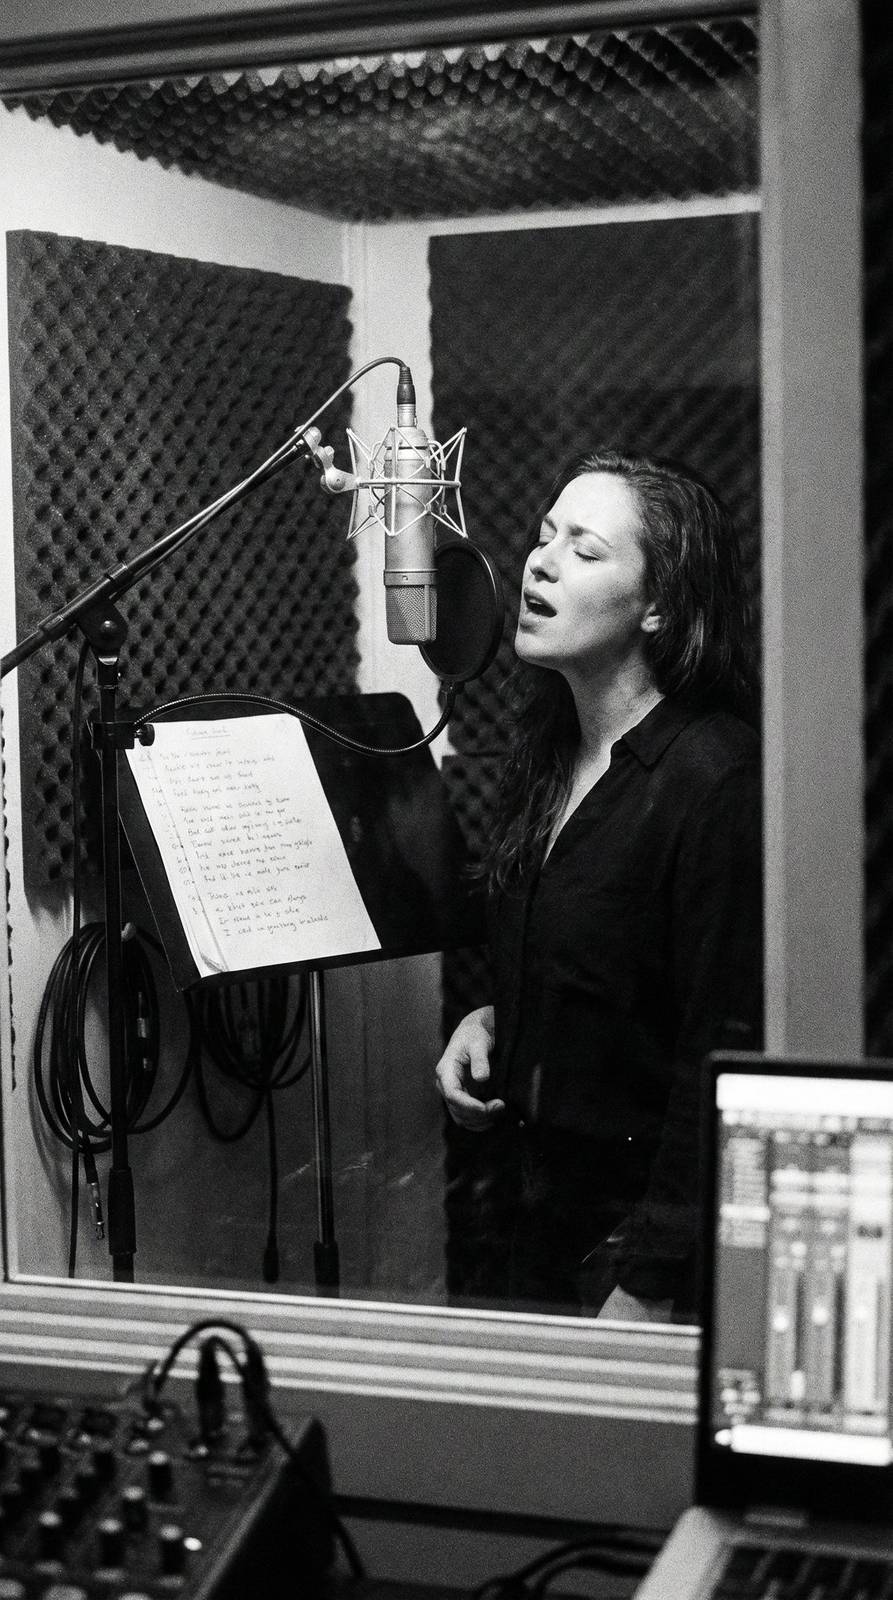
The vocal is usually the most important element in a song, so getting a clean recording is critical. The good news is that great vocal recordings are more about technique than expensive equipment. Start with the room: avoid large, empty rooms with hard surfaces — they create reflections and reverb that you cannot remove later. Small rooms with soft furnishings (carpets, curtains, sofas) naturally absorb reflections. A walk-in wardrobe full of clothes is one of the best DIY vocal booths available.
Position the microphone correctly. For a large-diaphragm condenser, stand about 15 to 20 centimetres from the capsule — close enough for warmth and detail, but far enough to avoid proximity effect distortion. Use a pop filter 5 to 10 centimetres in front of the mic to catch plosive consonants (P, B, T sounds). Angle the mic slightly off-axis if the vocalist has a harsh sibilance — pointing just past the corner of their mouth rather than directly at it.
Gain staging matters enormously. Set your input gain so that the loudest parts of the vocal peak around -6dB to -12dB on your DAW meter. This gives you headroom for processing later. If the signal is too hot, you will get digital clipping which sounds terrible and cannot be fixed. If it is too quiet, you will amplify noise when you turn it up later. Take the time to get this right before you start recording.